If this page seems out of date, please submit a comment at the bottom.
Add CampusVue Printers
CampusVue
This technique is a workaround for the lack of a system UI on the CampusVue remote app and will need to be done on each CVue server. We are working on a better solution so please be patient on this.
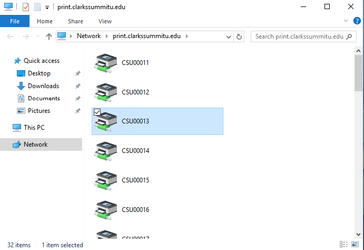
- Locate the CSU Copiers/Printers
- Launch CampusVue.
- Go to the Help menu and select Help on the Web.
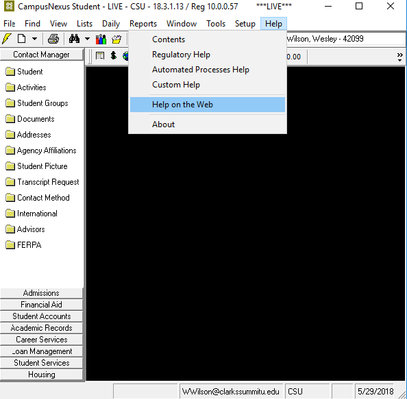
- A browser window will appear.
- Reuse the browser window for each task as needed.
- Add a Remote App printer via the browser window from the above step
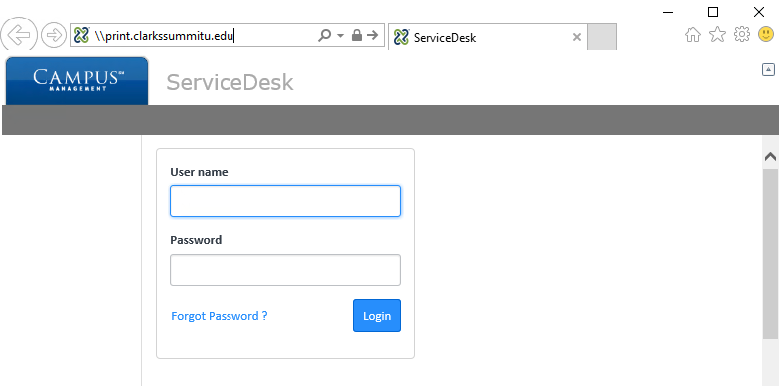
- Enter "\\print.clarkssummitu.edu" into Internet Explorers address bar.
- Double-click your printer in the list that is shown.
- Enter "\\print.clarkssummitu.edu" into Internet Explorers address bar.
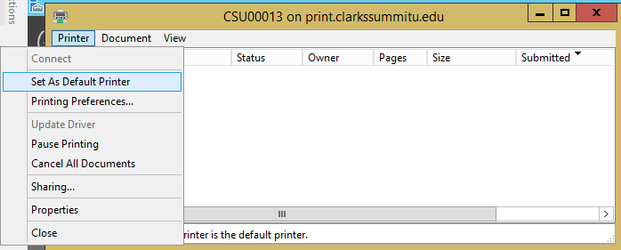
- Set the Printer as the default for CVue
- In the printer specific window single click Printer > Set as Default Printer (For addition help Add Windows Printers)
- In CampusVue, open Print Setup in the File menu.
- Set your default CVue printer for each scenario.
- In the printer specific window single click Printer > Set as Default Printer (For addition help Add Windows Printers)
- OPTIONAL ADVANCED STEP to remove former printers
See IT for help with this if you are not comfortable doing these steps.- Enter "c:\windows\system32\"
- A Windows File Explorer Window will appear
- Find and Launch the application "CMD.exe"
- A black command prompt window will appear
- Enter "Control Panel" and press enter
- A Control Panel Window will appear
- Click "Devices and Printers"
- Select and delete the printer you want to remove
- Print Test
- Close any windows, other than CampusVue, with this icon

- Do a test print from CampusVue

- Close any windows, other than CampusVue, with this icon
- It your document prints you are done. If not please submit a helpdesk email ticket and IT will help you as soon as possible
Repeat as needed
This process may need to be completed more than once since it is a per server setup. It is recommended you check CampusVue printers each time you login until you have done this at least 3 times.
We are also experience an issue where printers go away ever time you open CampusVue for some users.
Additional Apple Support Documents:
http://support.apple.com/kb/HT3049 (Connect to Windows Printer)
http://support.apple.com/kb/HT1568 (Connect to Windows Share)
http://support.apple.com/kb/PH7116 (Connect to Windows Share)