If this page seems out of date, please submit a comment at the bottom.
Remove Windows Printers
When no longer needing a printer you can remove it by following these steps
Step-by-step guide
Alternate Option
One can also remove the printers following similar steps, but starting from Control Panel instead. Just search for Control panel via the text search or look for it under Start, Windows System Folder. Click here for more ways to find Control Panel.
To remove your printer follow these steps:
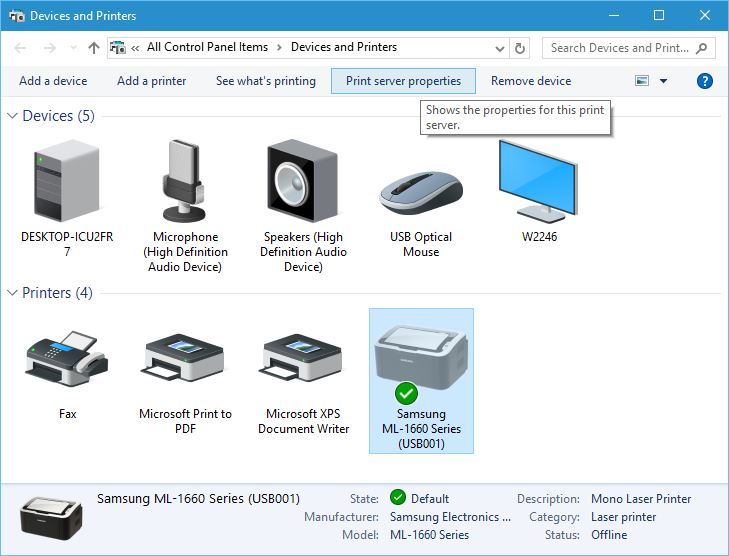
- Press Windows Key + S and enter printers. Choose Devices and Printers from the menu.

- When Devices and Printers window opens, select the printer and right click it and select Remove Printer.
- Done
Related articles
, multiple selections available, Use left or right arrow keys to navigate selected items